Displaying cavities with PyMOL.
This protocol is for users with some experience using PyMOL. For new users, go to www.pymol.org and www.pymolwiki.org to learn some basic commands, settings, and other aspect of the software.
- Load the structure of interest. If the pdb file is already downloaded in your computer, the structure can be loaded by clicking: File -> Open and selecting the pdb file from a local folder. Alternatively, the file can be downloaded directly from the pdb database by typing the following command: fetch 4PRG, where in this example 4PRG is the pdb code.
- The PyMOL viewer window should now display the 3D structure of your protein.
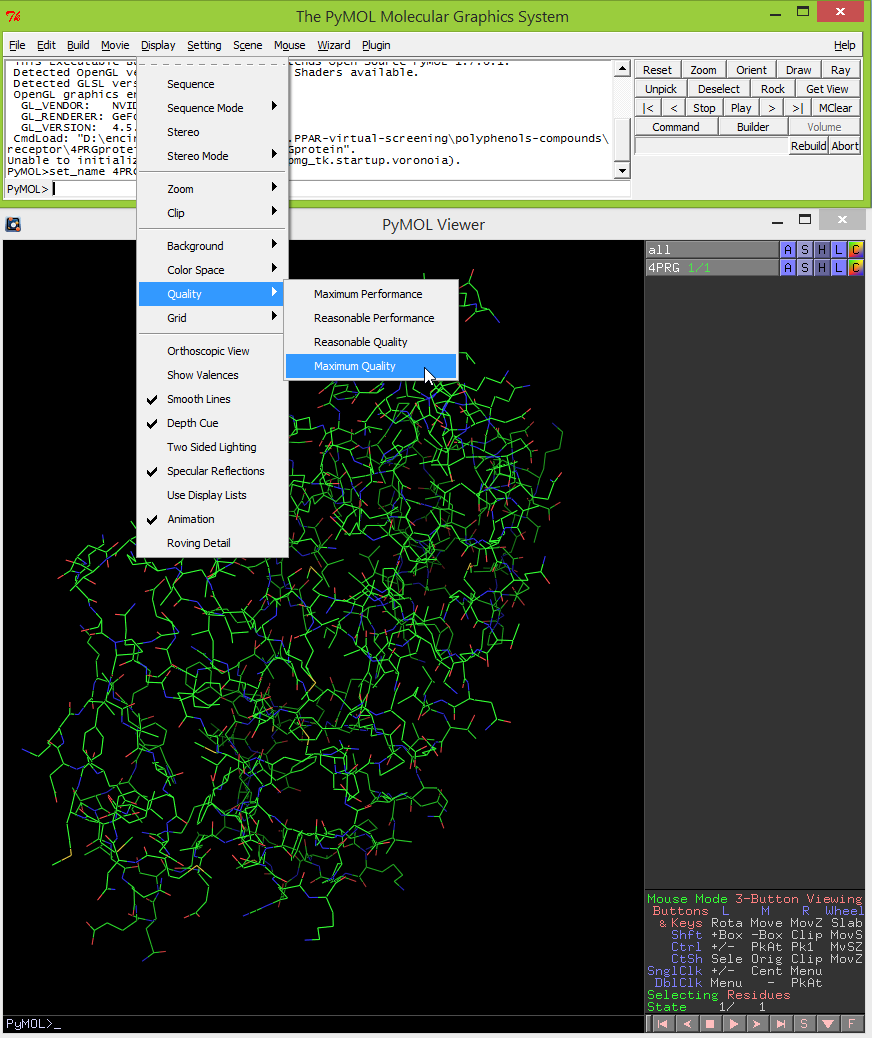
- To display the image with highest quality, change the default display setting to maximum quality. To do this, click on Display -> Quality -> Maximum Quality.
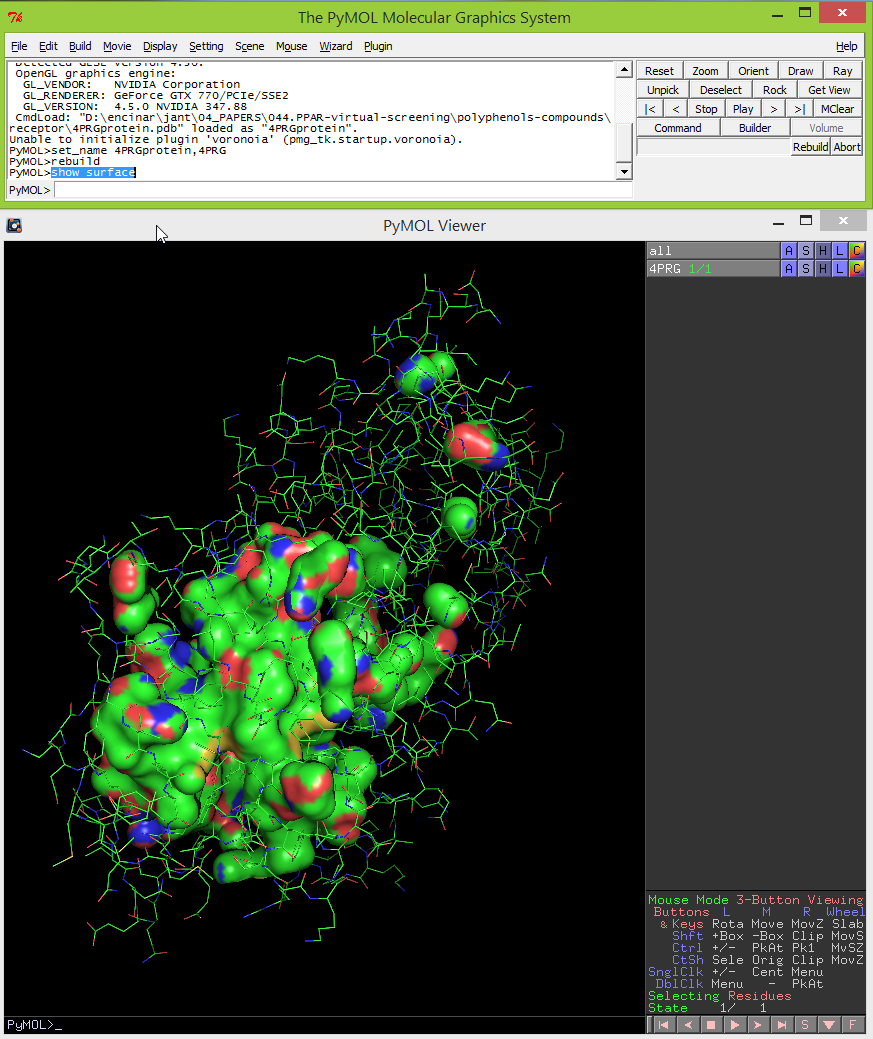
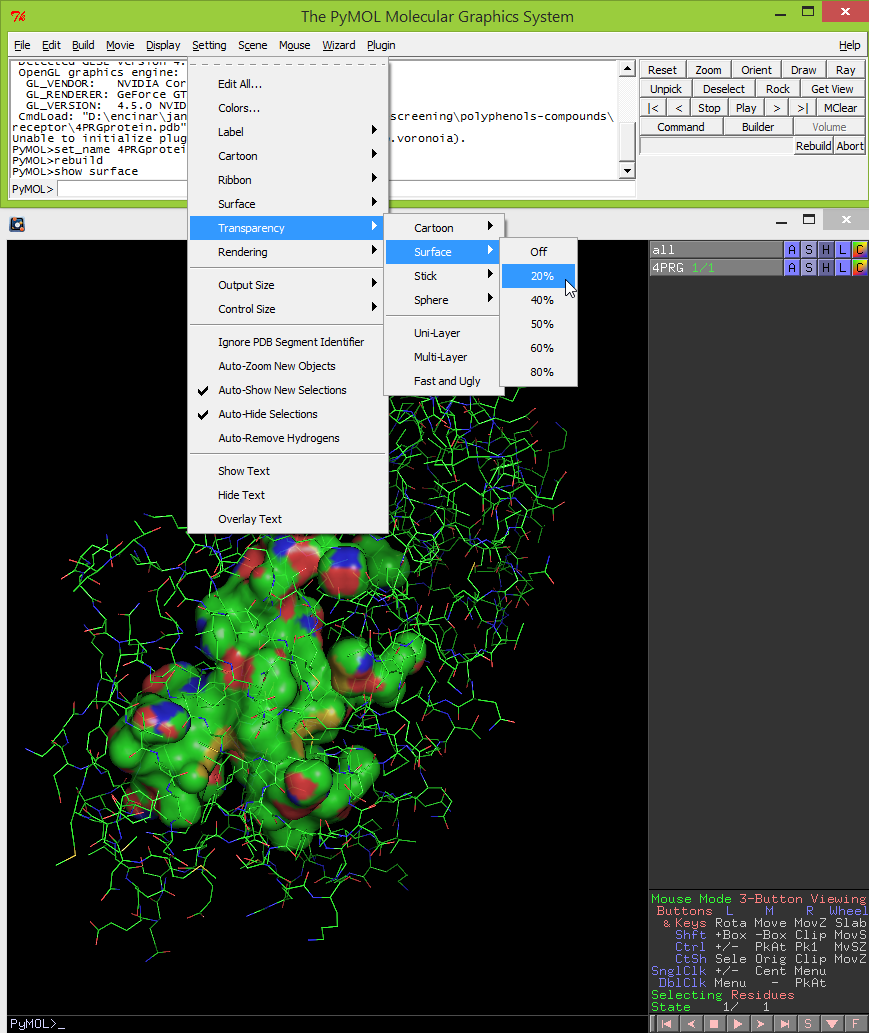
- To display the external surface of interior cavities and pockets, click on Setting -> Surface -> Cavities & Pockets Only.

- Then type: show surface. Now you should see the surface of cavities in the viewer window.
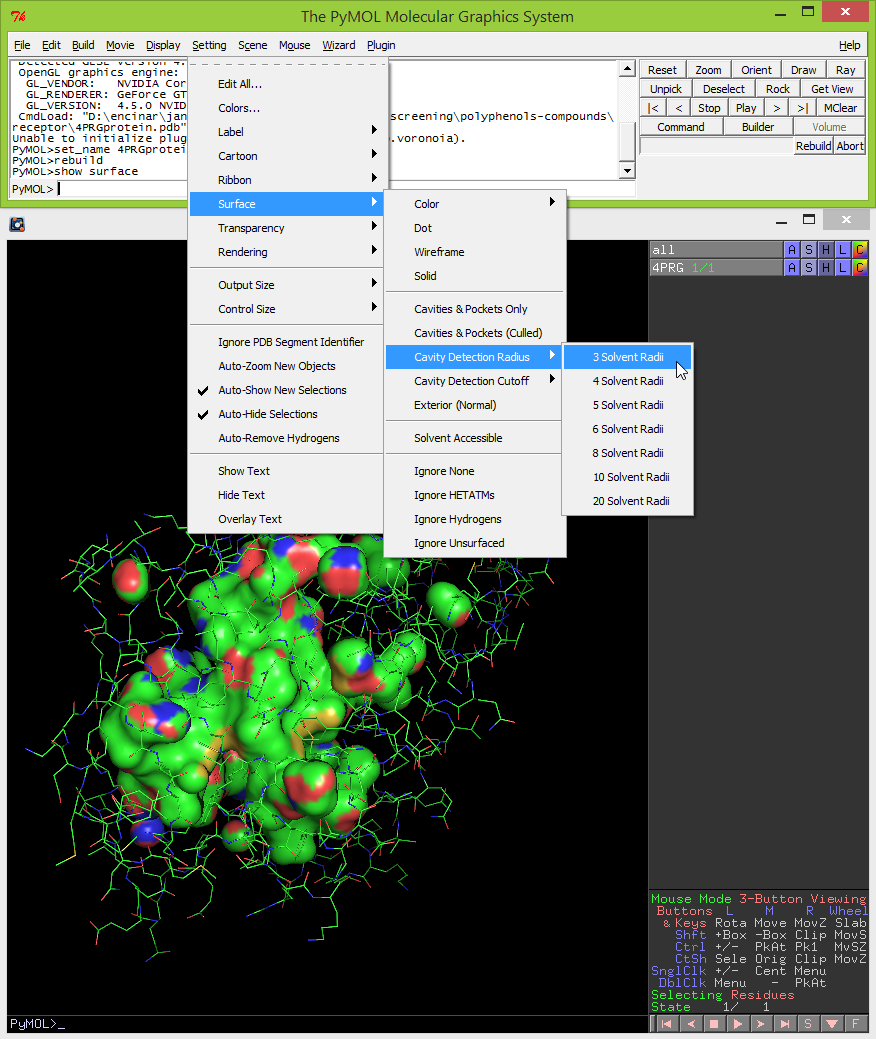
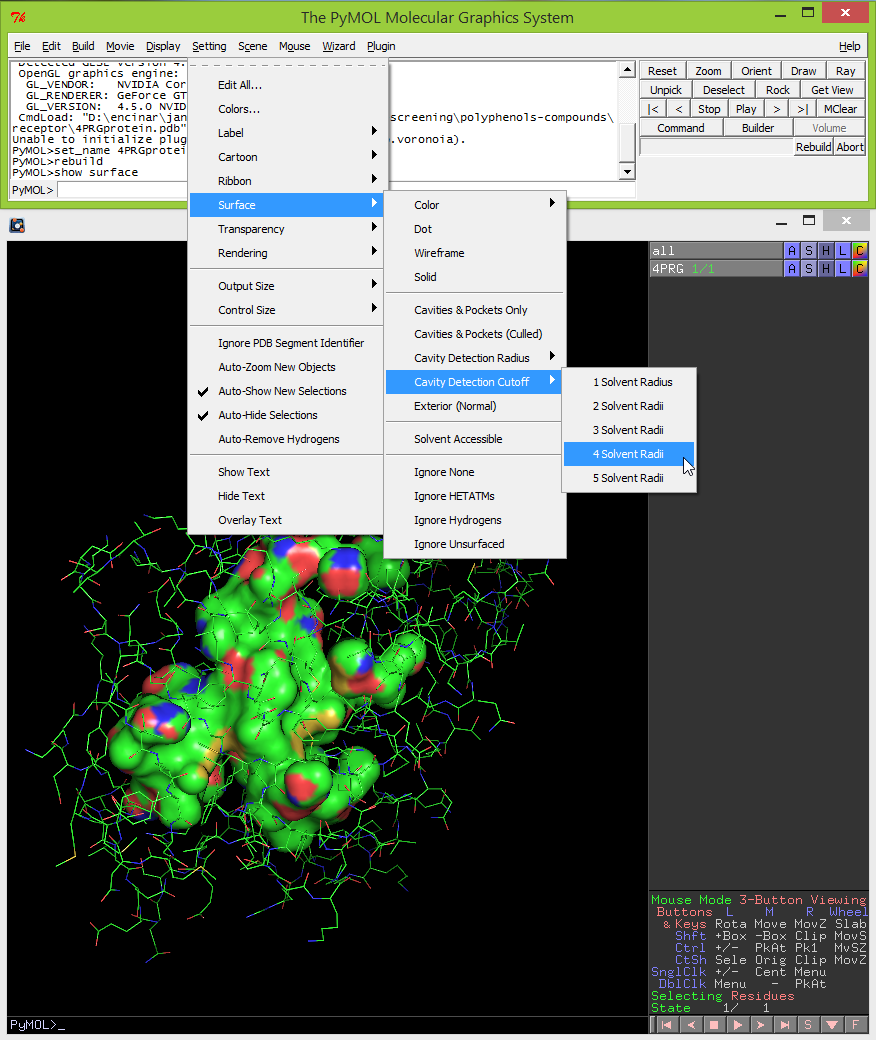
- By default, the cavity detection radius and cavity detection cutoff are set at 5 solvent radii and 3 solvent radii, respectively. Adjust these settings to reveal potentially important pockets and cavities of different sizes. To do this, click on Settings -> Cavity Detection Radius (or Cavity Detection Cutoff) -> and select the solvent radii. For the example used in this protocol the optimal settings used for cavity detection radius and cavity detection cutoff are 3 and 4 solvent radii, respectively.
- Sometimes it is useful to do a partial transparency of the surface of the cavities. This can be done by clicking Setting -> Transparency -> Surface -> select a percentage (i.e. 20%).
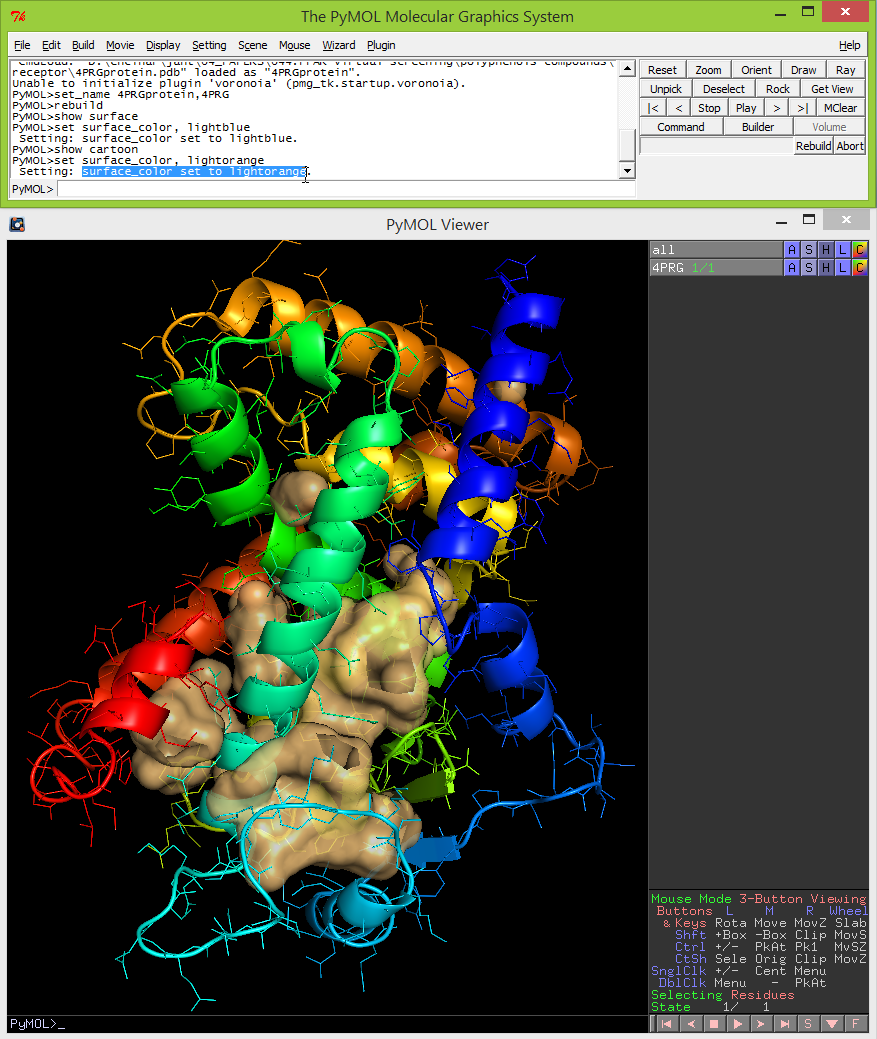
- The ribbon diagram can be shown by typing the following command: show cartoon. The color of the surface can be set to your color of choice by typing: set surface_color, lightorange. In this example shown below, the surface of the cavity is shown in lightorange.
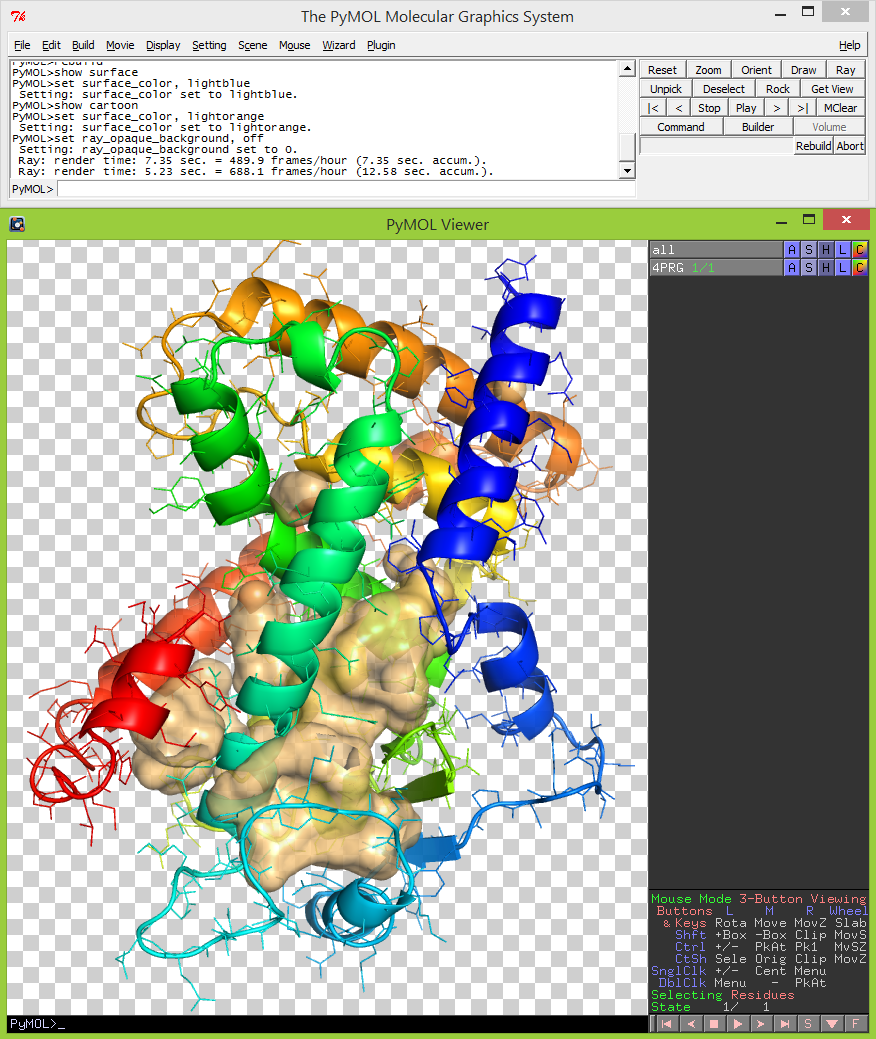
- Display -> Background -> white.
- set ray_opaque_background, off
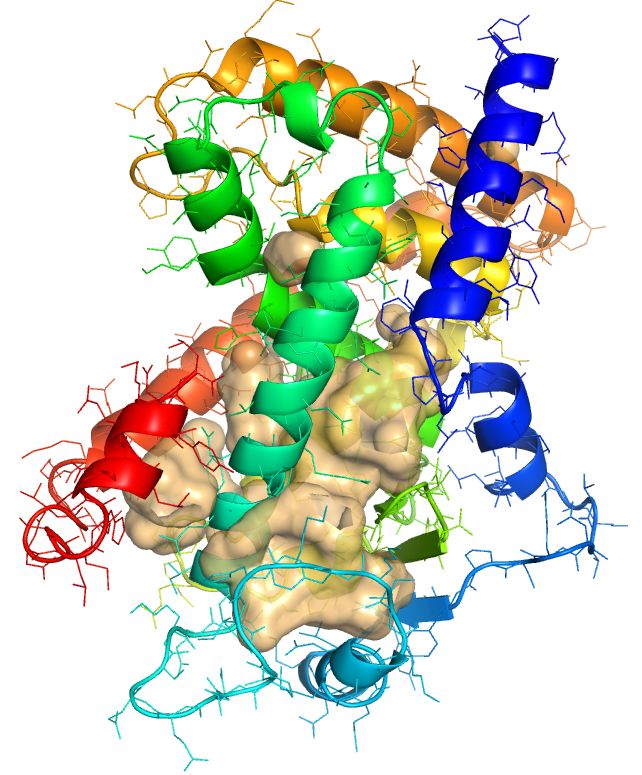
- The PyMOL session can be saved by clicking: File -> Save Session As. The image can be saved for publication or presentation purposes. By default, PyMOL images are saved at screen resolution with a width and height equal to that of the graphics area.
- To save images of a higher resolution, you can either expand the size of the viewer window or use the "ray" command to explicitly set image. In PyMOL, "ray" is built-in renderer for raytracing that can eliminate rough edges, generate superior lighting effects, and generate shadows. Note that this renderer can be rather time consuming to create a single image. To render a scene before saving the image, simply click on the "Ray" button in the external GUI or type ray in the command section. A progress indicator of the rendering process should appear in the viewer window. The rendered image can be saved by clicking: File -> Save Image As -> select file format
Oliveira SH, Ferraz FA, Honorato RV, Xavier-Neto J, Sobreira TJ, de Oliveira PS. KVFinder: steered identification of protein cavities as a PyMOL plugin. BMC Bioinformatics. 2014 Jun 17;15:197. doi: 10.1186/1471-2105-15-197.
KVFinder Installation Guide.
KVFinder Basic Tutorial
KVFinder Advanced Tutorial
KVFinder Segmentation Tutorial
KVFinder is available for Linux and Windows (64 bits): DOWNLOAD.